Thursday:
- English muffin with spinach-artichoke dip
- dark chocolate
- baby carrots
- barbecued tofu
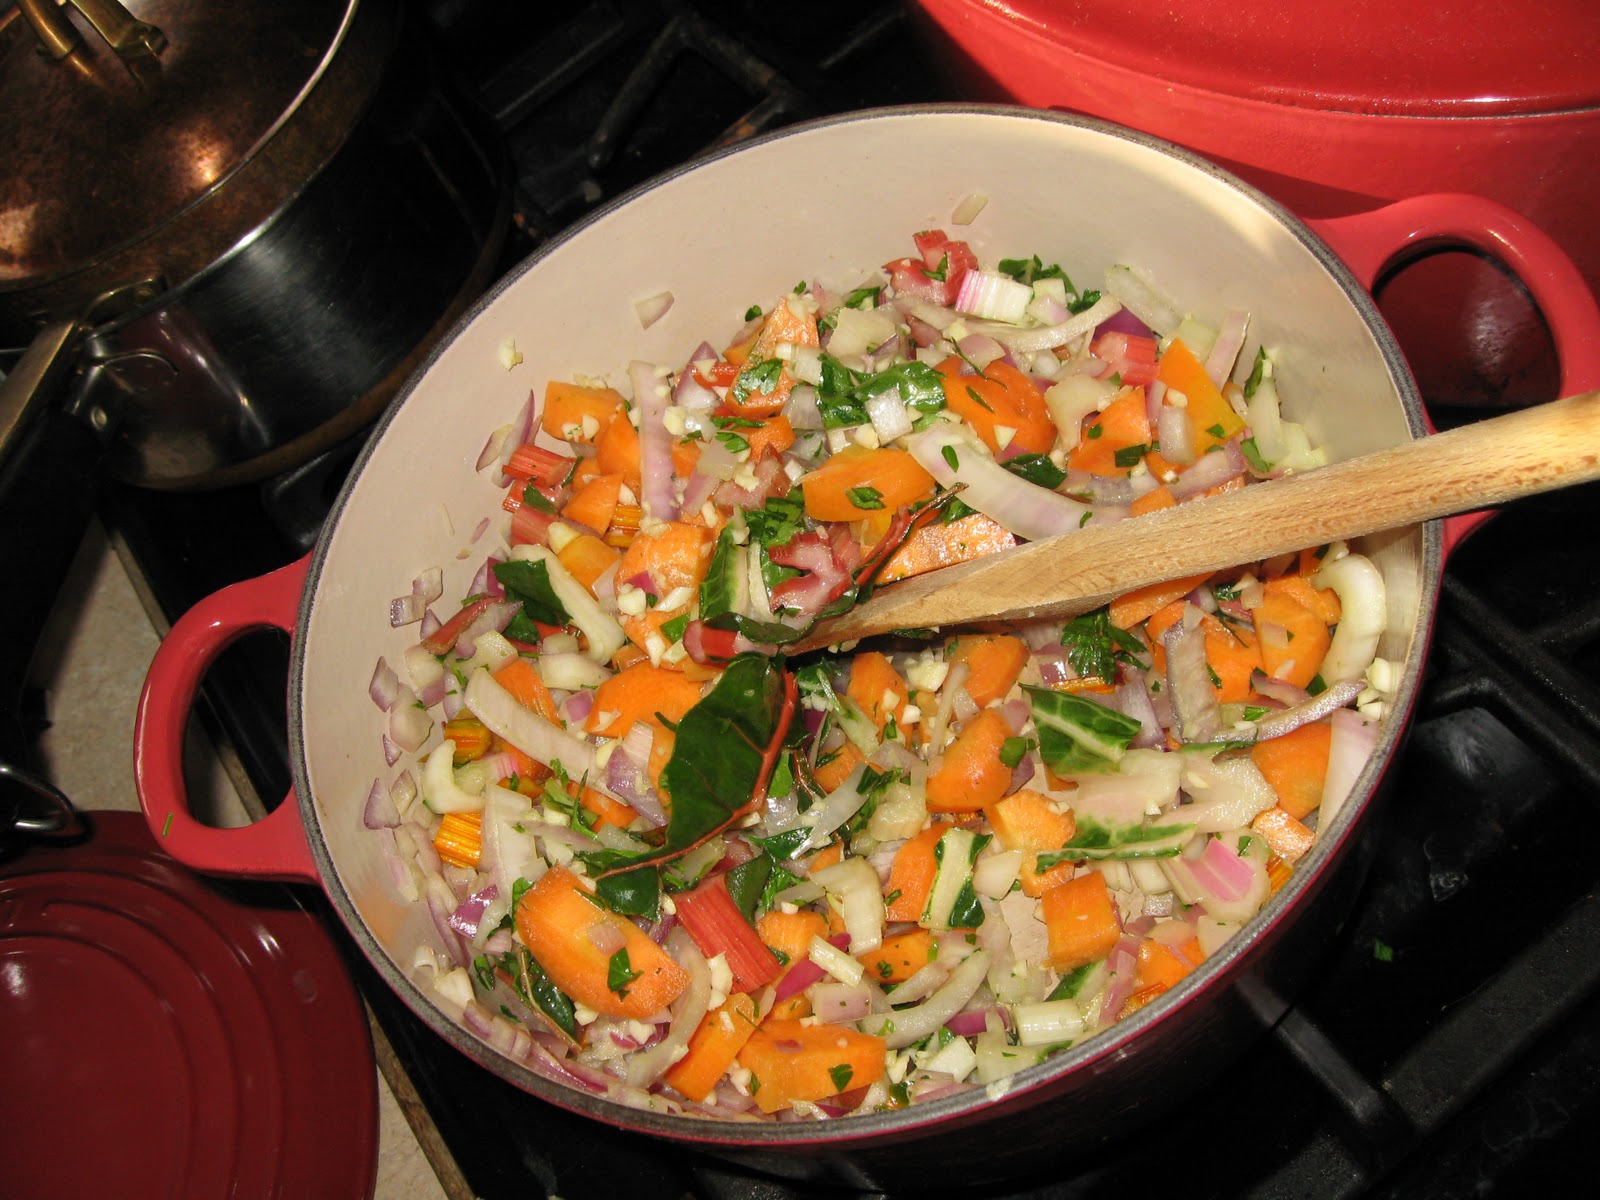
- Tortilla soup
- ginger cookie**
- coconut cookie**
- chow mein noodles
- Drinks: coffee, tea, water, coke, soy nog, red wine
- Oatmeal, with dried fruit and almonds
- Tortilla soup
- Dark Chocolate
- Barbecue tofu
- Gardein strips with mustard & hot sauce
- To drink: coffee, tea, water, diet coke
- hash browns
- winter minestrone over pasta
- barbecue tofu
- olives
- Tofu steak entree at local Japanese Restaurant. Included tofu, sauteed veggies, rice, and vegetable maki
- To drink: Coffee, water, tea, Plum wine
Well, now on to the fun part. Rachel's kickin' vegan spinach-artichoke dip. This recipe is totally hers, with the smallest of modifications based on what was available to me. Recipe is posted in my own words.
Vegan Spinach Artichoke Dip (makes about 2 C)
- 1/2 C vegan mayo (I used nayonaise)
- 1/2 C silken tofu
- 1 10-oz package frozen spinach, thawed, drained, and moisture pressed out
- juice of 1 lemon
- 1 clove garlic
- salt to taste
- pepper to taste
- 1/4 C soy Parmesan (I used "shaker" style)
- 1/2 C artichoke hearts (I used canned, not marinated)
2. Pour the contents in a small casserole dish. Place in oven and bake 15 mins, or until the edges begin to brown slightly. Serve immediately, or for a thicker dip, make ahead and reheat in oven or microwave.
Kitchen Notes: Rachel's original recipe called for 5 oz kale and 5 oz spinach; I think this would be super tasty, but I didn't have any on hand. It also calls for a slice of lemon (I like a strong lemon flavor) and 1/4 more Parmesan. I limited the amount of soy Parmesan for my attempt at it because the soy Parm I have is very granular and I didn't want the dip to have a gritty texture.

Verdict? I was seriously impressed with how similar to the real thing this tasted! You could easily fool someone into thinking this was dairy, it has all the richness, texture, and creamy zing of the full-fat version. A total keeper. Fresh out of the oven, it's a bit runny, but reheated it's the exact texture of the traditional version. The spinach flavor is quite assertive--it would be milder with fresh spinach. I might bump up the artichoke ratio a bit. I've been serving it as a sandwich spread, as a topping for breakfast English muffins and with pita. I'm super excited about this recipe!